
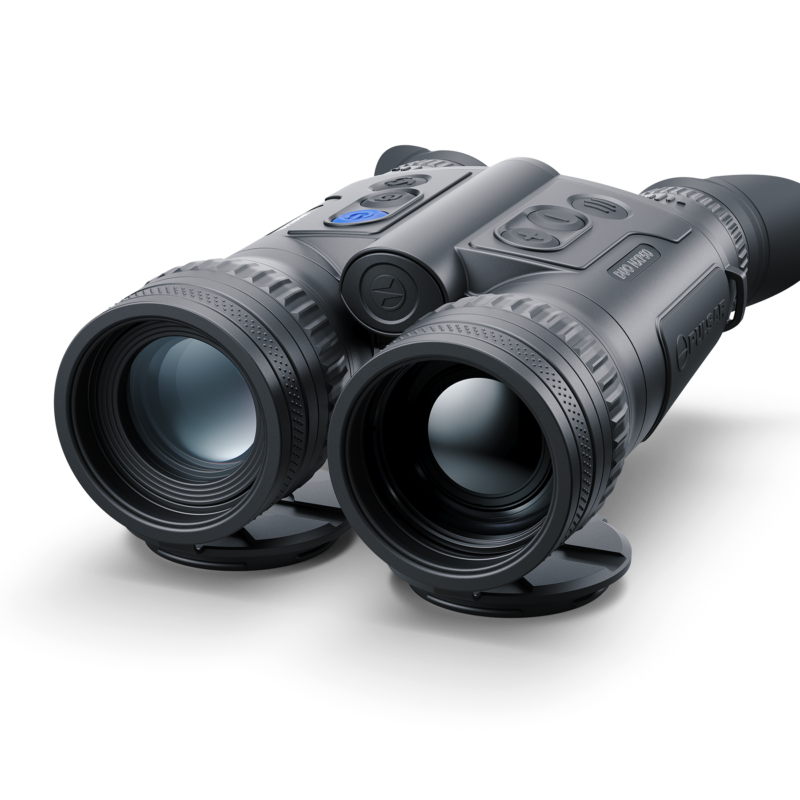
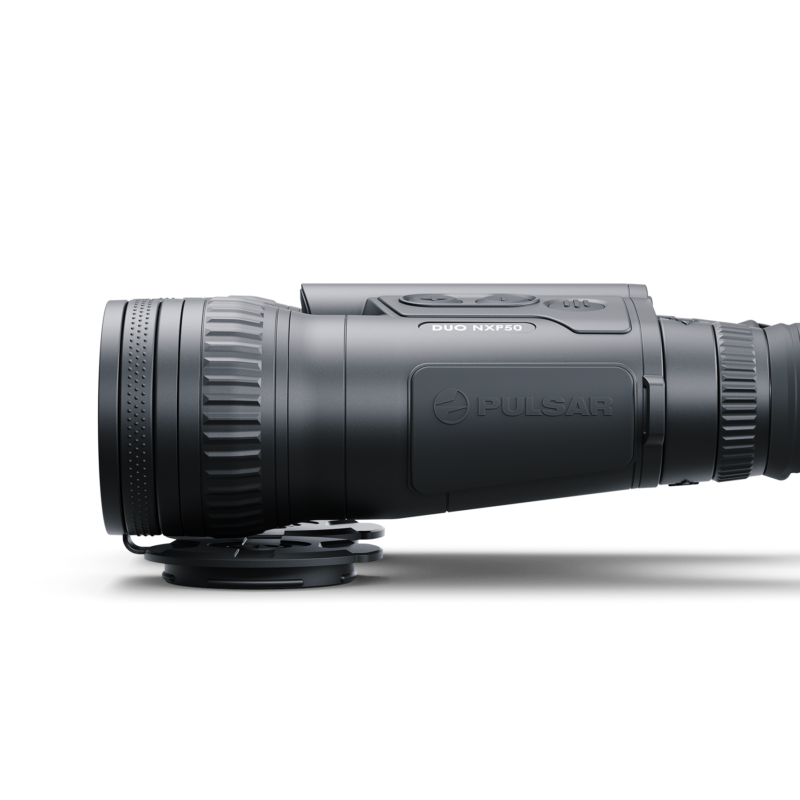

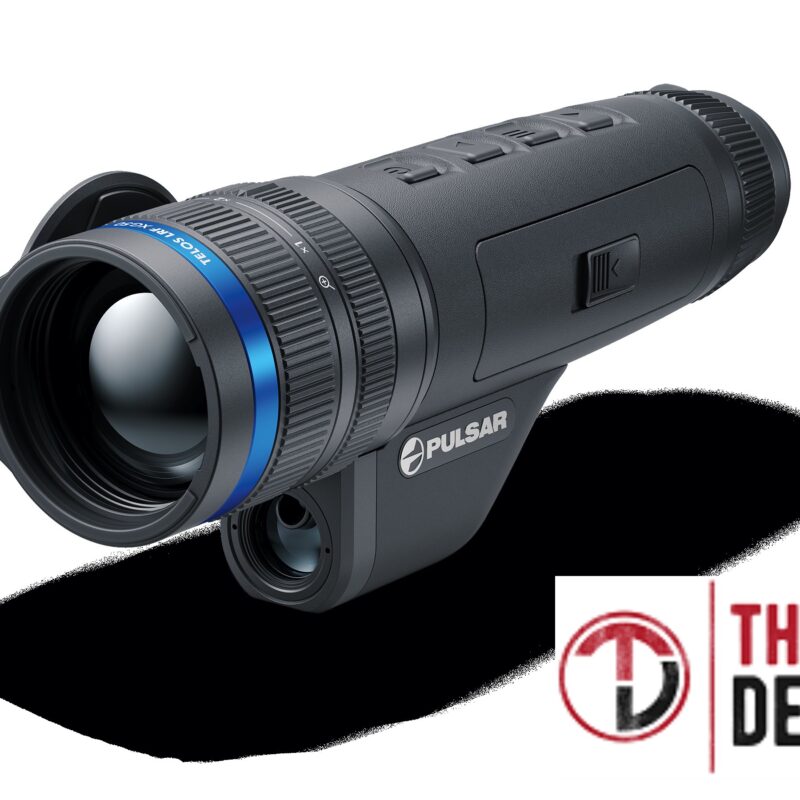
PULSAR THERMION THERMAL – the correct way to adjust and shot
THERMAL Vision With THERMION
1 – It’s a tool for altering the focus.
2 – Scroll up in the menu while you’re in it.
3 – Pressing the button down brings up the menu.
4 – Tap the Save button
5 – The use of magnification is employed.
6 – Also used switch on and off, as well as remove pixels.
Additional components on the menu.
– Wi-Fi – the Wi-Fi connection is activated and canceled by pushing up the arrow (pos. 2) for 3 seconds.
– Hold down the key to access the menu, press the button once to enter the “Wi-Fi” option, use the arrow keys to go up and down to switch on or off the Wi-Fi option, push the menu controller once to save the wanted choice.
– using a Wi-Fi connection to link the gadget to an own device:
– password – the device’s passcode is being used to join the weapon to the target device. By hitting the menu button one time, you can access Wi-Fi settings and modify the password from 12345 to your own. To proceed to the next number, use the up and down arrows to change the numbers. To save the selected password, continuously push the menu toggle
– To join the gadget to the selected device, firstly you need to have the “Stream Vision” app downloaded; then, using the chosen device’s Wi-Fi network, you need to locate the gadget by providing the password; this allows users to monitor live via the chosen device.
– operating mode (Mode) – three forms of operating modes are available.
– Rocks mode with better contrast – ideal for observing creatures resting among stones or on the ground in steep settings.
– Forest mode (low contrast) – ideal for spotting animals in a vegetation setting.
– Identification mode a.k.a. universal – appropriate for many types of surveillance
– Calibration option – simply choose the preferred measuring method – automatic, semi-automatic, or manual – access the menu by simply pressing the button, select “calibration” by pushing the menu button once, then move up and down with the arrow keys, and save the preferred calibration by pressing the menu button one time.
– Profile zeroing – this feature allows the user to set one of three profiles. There are three options for each of them:
- deciding the firing range
- Waist colour
- Cross profile
– When utilizing various rifles or firing with distinct calibers, multiple profiles could be employed.
time – go to the menu by continuously pressing the menu button, then select the “Shooting profiles” item by pushing the menu button one time
– pick one of the three profiles (labeled with the characters A, B, C) by going up and down with the arrow keys, finalize your selection by pushing the menu button one time
– The toolbar will display the title of the chosen profile.
– Reticle setting – here you may choose the kind, colour, and intensity of the cross
– reticle type – press the menu toggle continuously to access the menu, press the menu toggle one time to open up the “Cross type” option and choose the preferred cross type from the 13 alternatives by going up and down with the arrows, the kind of cross shifts as you go down, and push the menu toggle one time to save your choice.
– Reticle colour – with continual pressing click the menu button to open the menu, click the menu button one time to enter the “Cross color” section, navigate with the arrow keys to pick the appropriate color, black or white, and press the menu button one time to save your selection.
– Brightness of the reticle – open the menu with a constant push of the menu key, pick the “Cross brightness” options by clicking the menu button one time, navigate via the arrow keys to pick the appropriate brightness from 0-10, and save your selection by pushing the menu button one time
– Zeroing (shooting) –
– Before you may fire your weaponry, you first must set the distance, which could be anywhere between 1 and 910 meters.
– Increasing the distance –
– with a constant push press the menu toggle to go to the menu, then push the menu button one time to access the “Zeroing” feature.
– push the menu button one time to select the “adding new distance” option;
– Change the value of every character with the arrow keys to go to the next character, hit the menu button once to set the suitable distance, hold the menu button down to save the appropriate range
– The first range you choose remains the default, indicated by a symbol to the right of the range value.
* NOTE – Every profile has 5 shooting ranges max
– Increasing or decreasing the main distance –
– Press the menu key one time to access the remote control submenu, pick the “primary distance” symbol, push the menu key one time, and the symbol that displays next to the chosen range indicates the adjustment of the main distance.
– Removing the excess distance –
– Click the range you wish to erase, push the menu key one time to open the remote control submenu, pick the “delete distance” icon, choose “Yes” to remove the distance, or “No” to abort. If you choose “Yes,” you will be sent to the distance list; if you choose “No,” you will be taken back to the previous option “distance management.”
WARNING: If the main distance is removed from the list, the very next distance on the list turns to the main distance.
– Extra menu for setting shooting characteristics – after you have chosen your firing distance and opened the shooting menu, you’ll discover the following choices.
– X/Y (horizontal/vertical) adjustment
– increase
– Shootout using FREEZE feature
– range change
– X/Y (horizontal/vertical) corrections (shooting) – The submenu does a firing with the two parameters supplied. The arrows are used to move the values around the screen. By tapping the menu button one time, you may modify the numbers. Move the cross towards the direction of the impact. By continuously pushing the menu button, you may save your activity.
– Magnification – this submenu enables you to improve the digital amplification while firing, which increases precision.
– After you’ve chosen your shooting distance, hit the menu button one time to access the “zoom” option.
– Use the arrows to pick the digital zoom (for example, x3), then validate your decision by hitting the menu button one time
– Freeze – The freeze setting is meant to fire the fewest amount of shots possible. The gun should be kept steady or mounted on a stand.
– After you’ve decided on a shooting range, you’ll need to practice with one shot. Then hit the menu button one time, or the power button once if you’re in shooting mode, to access the freeze feature (which is indicated by a snowflake).
– The device will capture a picture (screen freeze) and the screen will display the freeze symbol (snowflake).
– Return to the previous X/Y adjustment menu after capturing the shot and drag the cross nearer the impact point.
When you modify the digital magnification, the cross on the screen changes (starts getting smaller or larger) in proportion to the magnification shift. This enables you to utilize the rangefinder at all times
– Modify range name – from this option, you may adjust the range value.
– After you’ve chosen your shooting range, hit the menu button one time to access the submenu and select “choose a distance title.”
– Via the up and down buttons, adjust the value of each symbol. By clicking the menu key one time, you can go to the next character. Continuously push the menu button that would save your choice.
Configuration – hit the button to open the menu, then press the menu button one time to access the submenu and click “Settings.” The following choices will show up:
– Language – press the button long to access the menu, then click the menu toggle one time to access the “Language” option. Using arrow buttons navigate up and down to save the selected language (German, English, Spanish, and French).
– Date – press the button long to access the menu, then click the menu button again to access the “Date” menu. The date will show up on the display in the sequence as follows: year / month / day, using the arrows you can choose the preferred date to go to the next alternative, push the menu button one time to save the preferred date, push the menu button continuously
– Time – press the button long to access the menu, then click the menu button again to access the “Time” menu, with the arrow keys choose one of the 24 or PM / AM options, navigate the arrows to choose the preferred time, shift to minutes by pushing the menu button one time, use the arrow keys to choose the preferred minutes, push the menu button continually to save the preferred time settings
– Units of measure – press the button long to access the menu, then click the menu button again to access the “M/Y” menu, with the arrow keys choose one of the preferred options and push the menu button one time
– Reset – the feature enables you to go back to the factory configuration.
– Press the menu button one time to access the menu, push the button one more time to access the “settings” submenu, push the button once more to access the “Zero” option
– Choose “YES” to reset the factory configuration or “NO” to exit and get back to the menu. This is done by navigating the up and down arrow keys.
– Push the menu button one time to finalize the choice
– If the choice is “YES,” the statement “Reset to default settings /” will show on the screen, with the alternatives “YES” and “NO,” choose “YES” with a single button push to return the factory configuration.
– If you select “NO,” the restore will be withdrawn, and you will be taken back to the main menu.
* The characteristics mentioned below will be returned to their previous state prior to the user making a change:
- Video recorder mode – recording of video
- Operational modes forest
- Calibration mode – Automatic
- Shooting mode – A
- Cross of your choice – 1*
- Cross color – black*
- The cross’s brightness – 5 *
- English is the primary language.
- Wi-Fi disabled (original passcode)
- Digital zoom is turned off.
- Color scheme is “warm-white”
- Measuring unit – meters
- Picture-in-picture mode is turned off.
- Lateral tilt is off
- Auto-shutdown is turned off
These are the values across all three profiles (A, B, C)
WARNING: the time and date configurations, factory pixels map, remote control activation, and aiming coordinates for all ranges have not been recovered!
– Format – this menu feature enables you to specify the device’s memory –
press the button long to access the menu, then click the menu button again to access the “Format” menu option
– Choose “YES” to reformat the memory stick or “NO” to go back to the menu with the push of the up and down keys one time.
– Hit the menu button one time to finalize the decision
– If “YES,” is selected, the statement “Do you wish to format the memory card?” appears. The replies “YES” and “NO” will show on the display; pick “YES” with one click of the button to reformat the card
– “Format map” shows on the display, indicating that formatting is in progress; after formatting is finished, “Format complete” shows up.
– If you choose “NO,” the formatting is going to be erased, and you’ll be taken back to the prior menu.
– Sides incline – the feature enables you to turn on or off the device’s side (horizontal) tilt. The side incline is shown by arrows at the end of the waist’s horizontal line. To alleviate the side tilt, adjust the weapon in the directions shown by the arrows.
– There are three different sorts of side slopes.
-1 square arrow – from 5 ° to 10 ° degrees
– 2 square arrows from 10 degrees to 20 degrees
– 3 sector arrows – over 20 degrees
If the inclination is below 5 degrees, the slope is not shown on the display.
– Push the menu button one time to access the menu, then push the menu button again to access the “Side tilt” feature, pick “ON” using the up arrows to enable the alternative, choose “OFF” to deactivate. Click the menu button one time to save your choice.
– Auto shutdown – this feature enables you to enable the device’s automatic shutoff, which will detect if your firearm is in the firing position or not. Whenever the sight is changed with respect to the optical axis, auto shut down is enabled: up> 70 °, down> 70 °, left> 30 °, right> 30 °.
– Hold the menu key to access the menu, then push the menu button once more to access the “Auto turn off” section. Choose the time frame (1 minute, 3 minutes, 5 minutes) using the up and down keys, whereby the device will turn off automatically. If you wish to discontinue, choose “OFF.” By hitting the menu button one time, you will have your choice.
NOTE: If you activate auto power-off, a notification and a countdown will show on the sidebar.
– Remote control – Prior to using the remote control, make sure it’s turned on by doing the following:
– Press and hold the menu button to open the menu, then click the menu button again to open the “remote control” submenu.
– Push the menu button, then push one of the remote control buttons in 30 seconds.
– If you were successful in activating it, in the display the message “Connection finished” will pop up and the remote control will be set for usage.
– If you don’t succeed in joining it, the notification “Connection failed” will show up on the display; attempt to link it once more.
– Repairing faulty pixels – while utilizing thermal equipment, bad (burned) pixels (dark and light spots with consistent vision) can emerge on the display. The user of HELION thermal devices can utilize a software methodology to fix damaged detector pixels.
– Hold down the button to access the menu, then push the menu button one more time to access the option “Correct faulty pixels.”
– Push the menu button one time to choose the “+” symbol.
– On the left half of the display, an “X” should show up.
– A “magnifying glass” a.k.a a tiny display with a stationary “X” cross would show on the right of the display, intended to make it simpler to locate faulty pixels and put an “X” on the pixel, horizontal and vertical arrows for “X” and “Y” represent the movement of “X” and “Y”
– Simply move the “X” using the arrow keys to find the damaged pixel
– To switch the direction of motion from horizontal to vertical, hit the menu button one time.
– use a “X” to mark the damaged pixel
– Pushing the save button will remove the faulty pixel.
– When the action is effective, the text “OK” will display shortly on the monitor. In the same manner, you can erase other pixels by dragging the “X” on them.
– Continuously push the menu button to quit the “Defective pixel correction” feature.
Making use of a laser rangefinder
-Turn on the vision by pushing the on/off toggle.
-To turn on the rangefinder, press the “Up” button (2); a range indication will show on the screen.
-Point the measuring item with the range measuring index.
-To take a measurement, push the “Up” button (2).
-On the top right side of the screen, the measured range will be indicated.
Scanning mode
– Turn on the sight by pushing the on/off button
-To turn on the rangefinder, push the “Up” button (2); the distance indicator will show on the screen.
-Point the distance measurement index at the thing you’re measuring.
-To continually compute the distance to different objects or moving objects, continuously push the “Up” button (2).
-The measured range will be displayed in the screen’s top right area.